How to Build a TodoMVC App with ToDesktop Builder
Learn how to create a ToDesktop Builder application using TodoMVC
Introduction
TodoMVC is a project that showcases the same todo application built across a range of JavaScript frameworks.
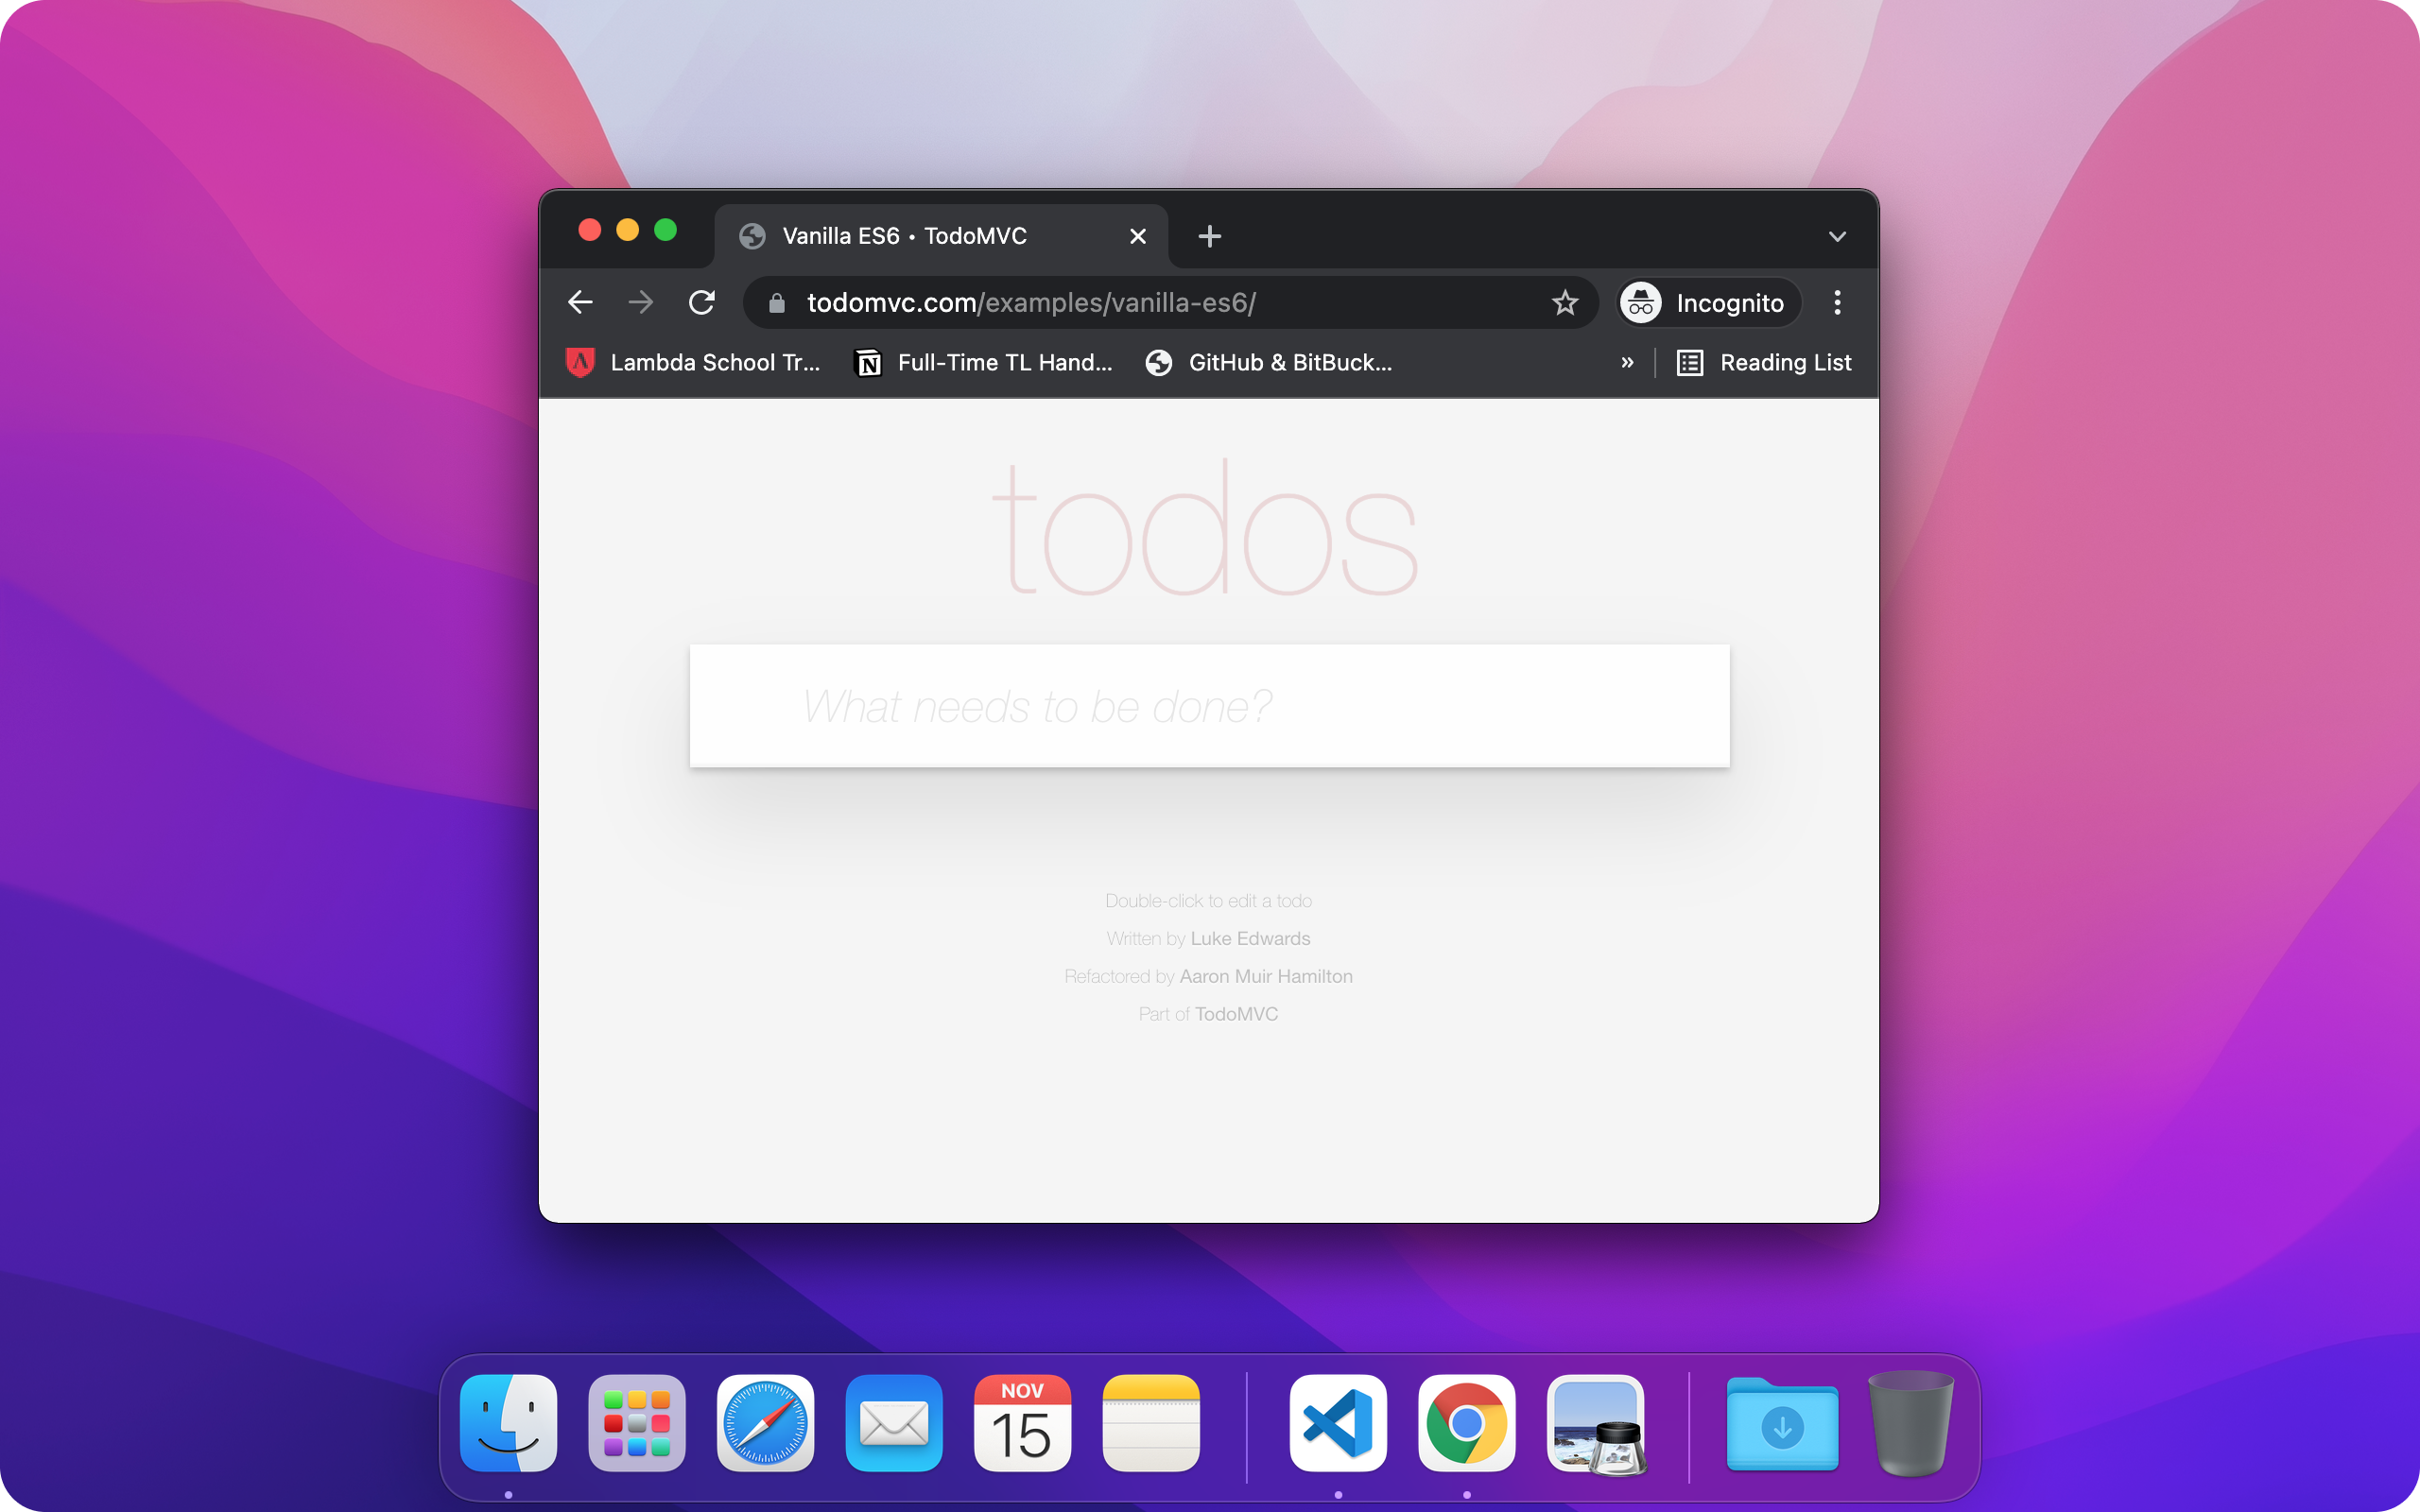
ToDesktop Builder is an application for creating cross-platform desktop apps with a few lines of code. In this guide, you will learn how to build and release a TodoMVC desktop app. It will have the ability to:
- Use keyboard shortcuts to show the app in a panel interface (like Spotlight).
- Create todos using selected text from any application.
- Attach logos to todos by gathering data about where the todo was created.
- Show number of remaining todos on the application icon badge.
You will take full advantage of the no-code interface and the plugin ecosystem that ToDesktop offers. By the end, you will have a fully packaged application that can be installed on any operating system.
Step 1: Set up ToDesktop Builder project
Install ToDesktop Builder
First, you'll need to download the ToDesktop Builder application. Once done, install and run the downloaded application. You should now see the following screen:
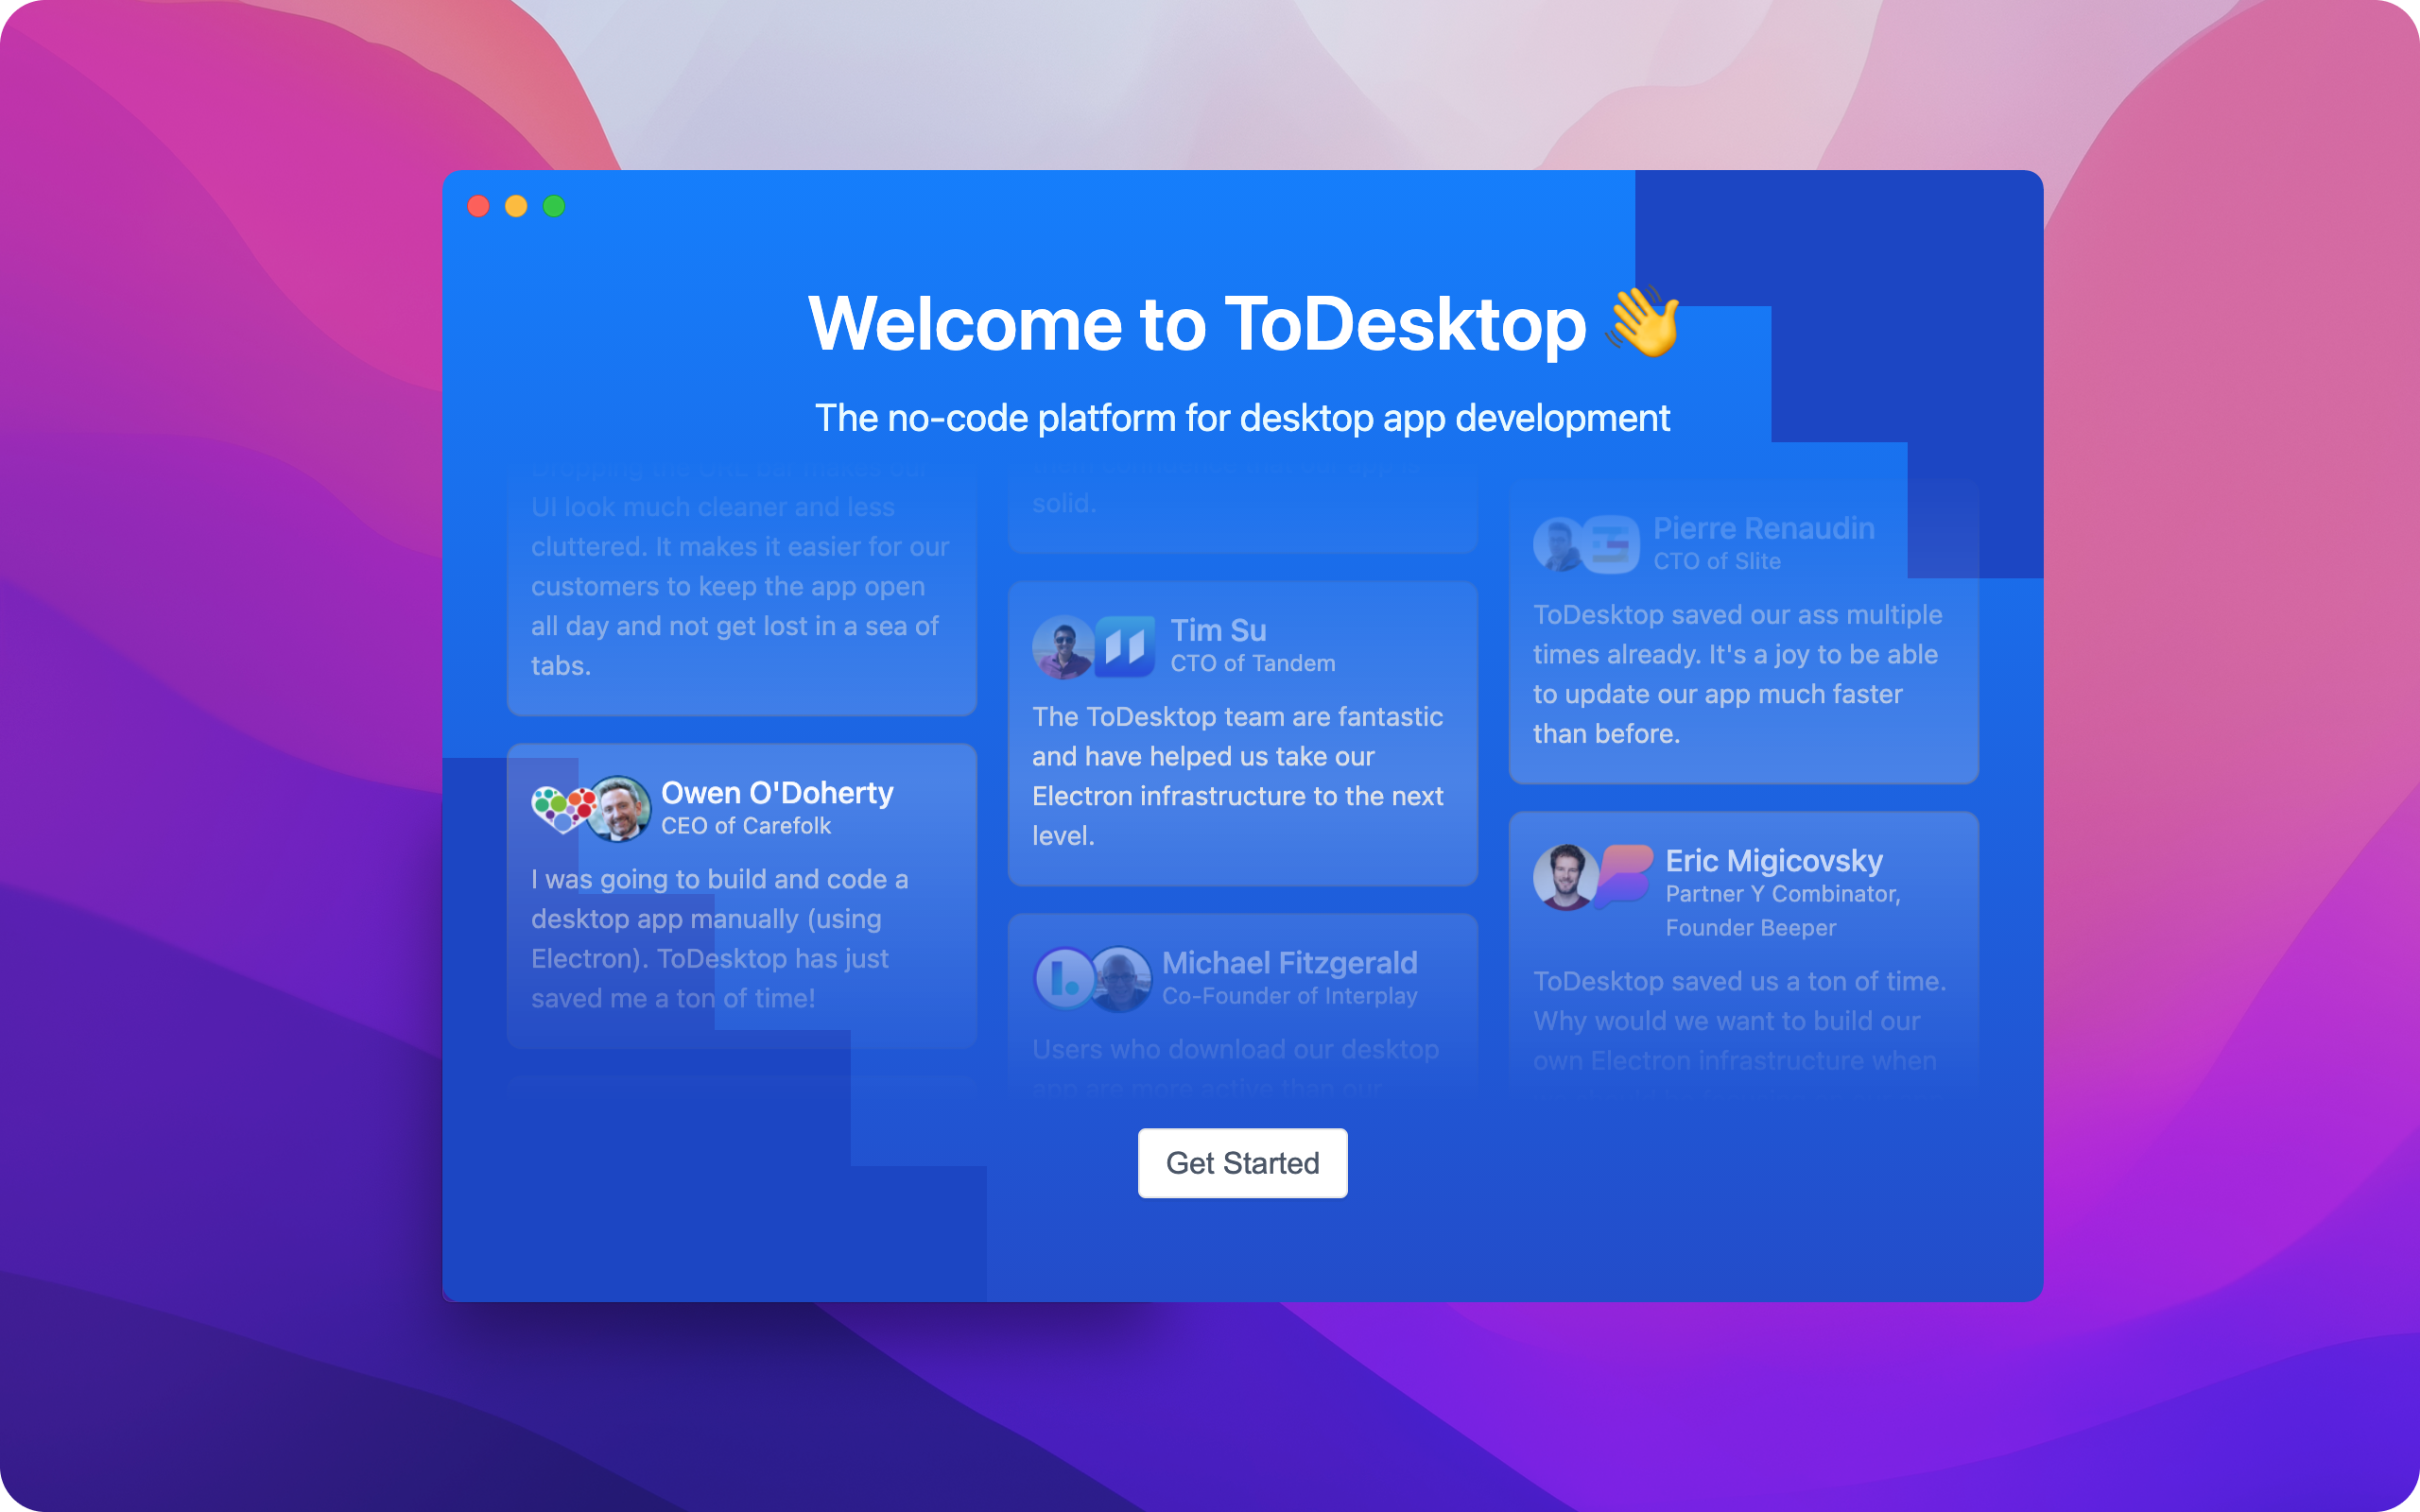
Click the Get Started button to begin the authentication process. This will link the web app's credentials with that of the desktop app. Once authenticated, you will be navigated back to ToDesktop Builder.
Create new project
If this is your first time using ToDesktop Builder, you will see the create new project screen. Otherwise, click the application dropdown and select create new project.
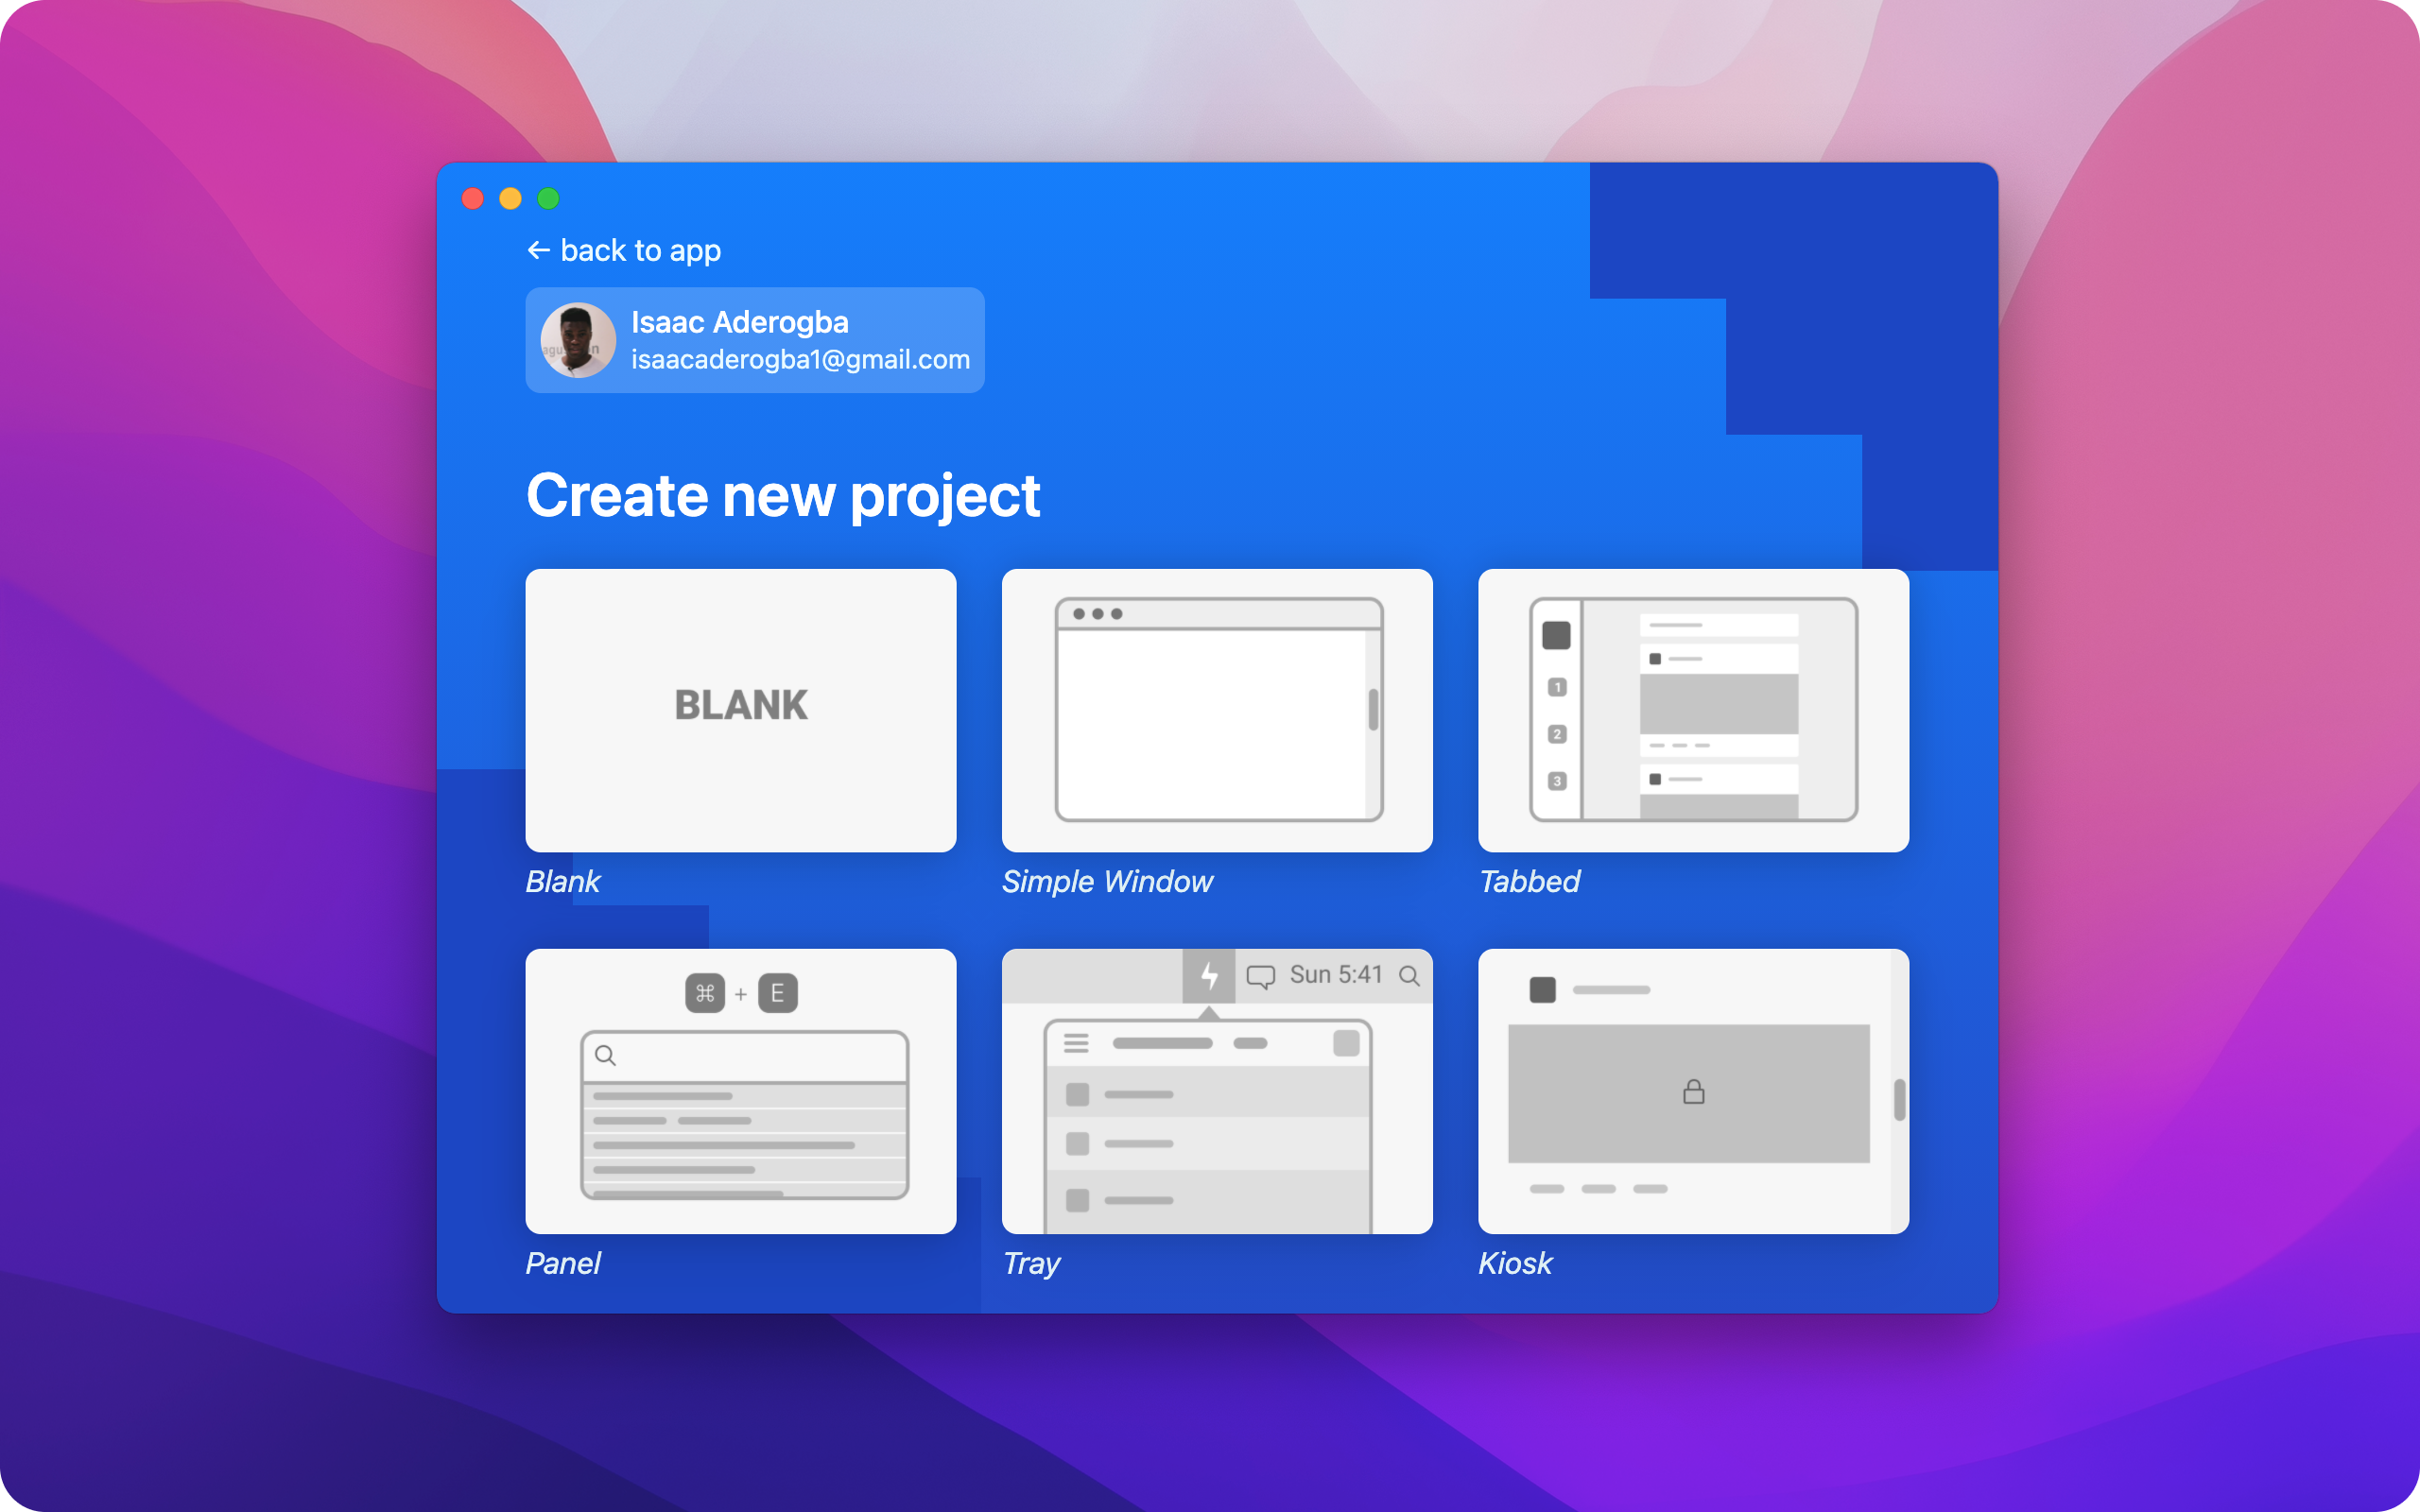
Once here, click the Simple Window project and enter the following dimensions:
Click the Next button and then enter the following app details:
Click the Create App button to complete initial setup.
Customize window
Next we need to customize the window of our app. Using ToDesktop Builder, navigate to Windows and make the following updates:
Appearance
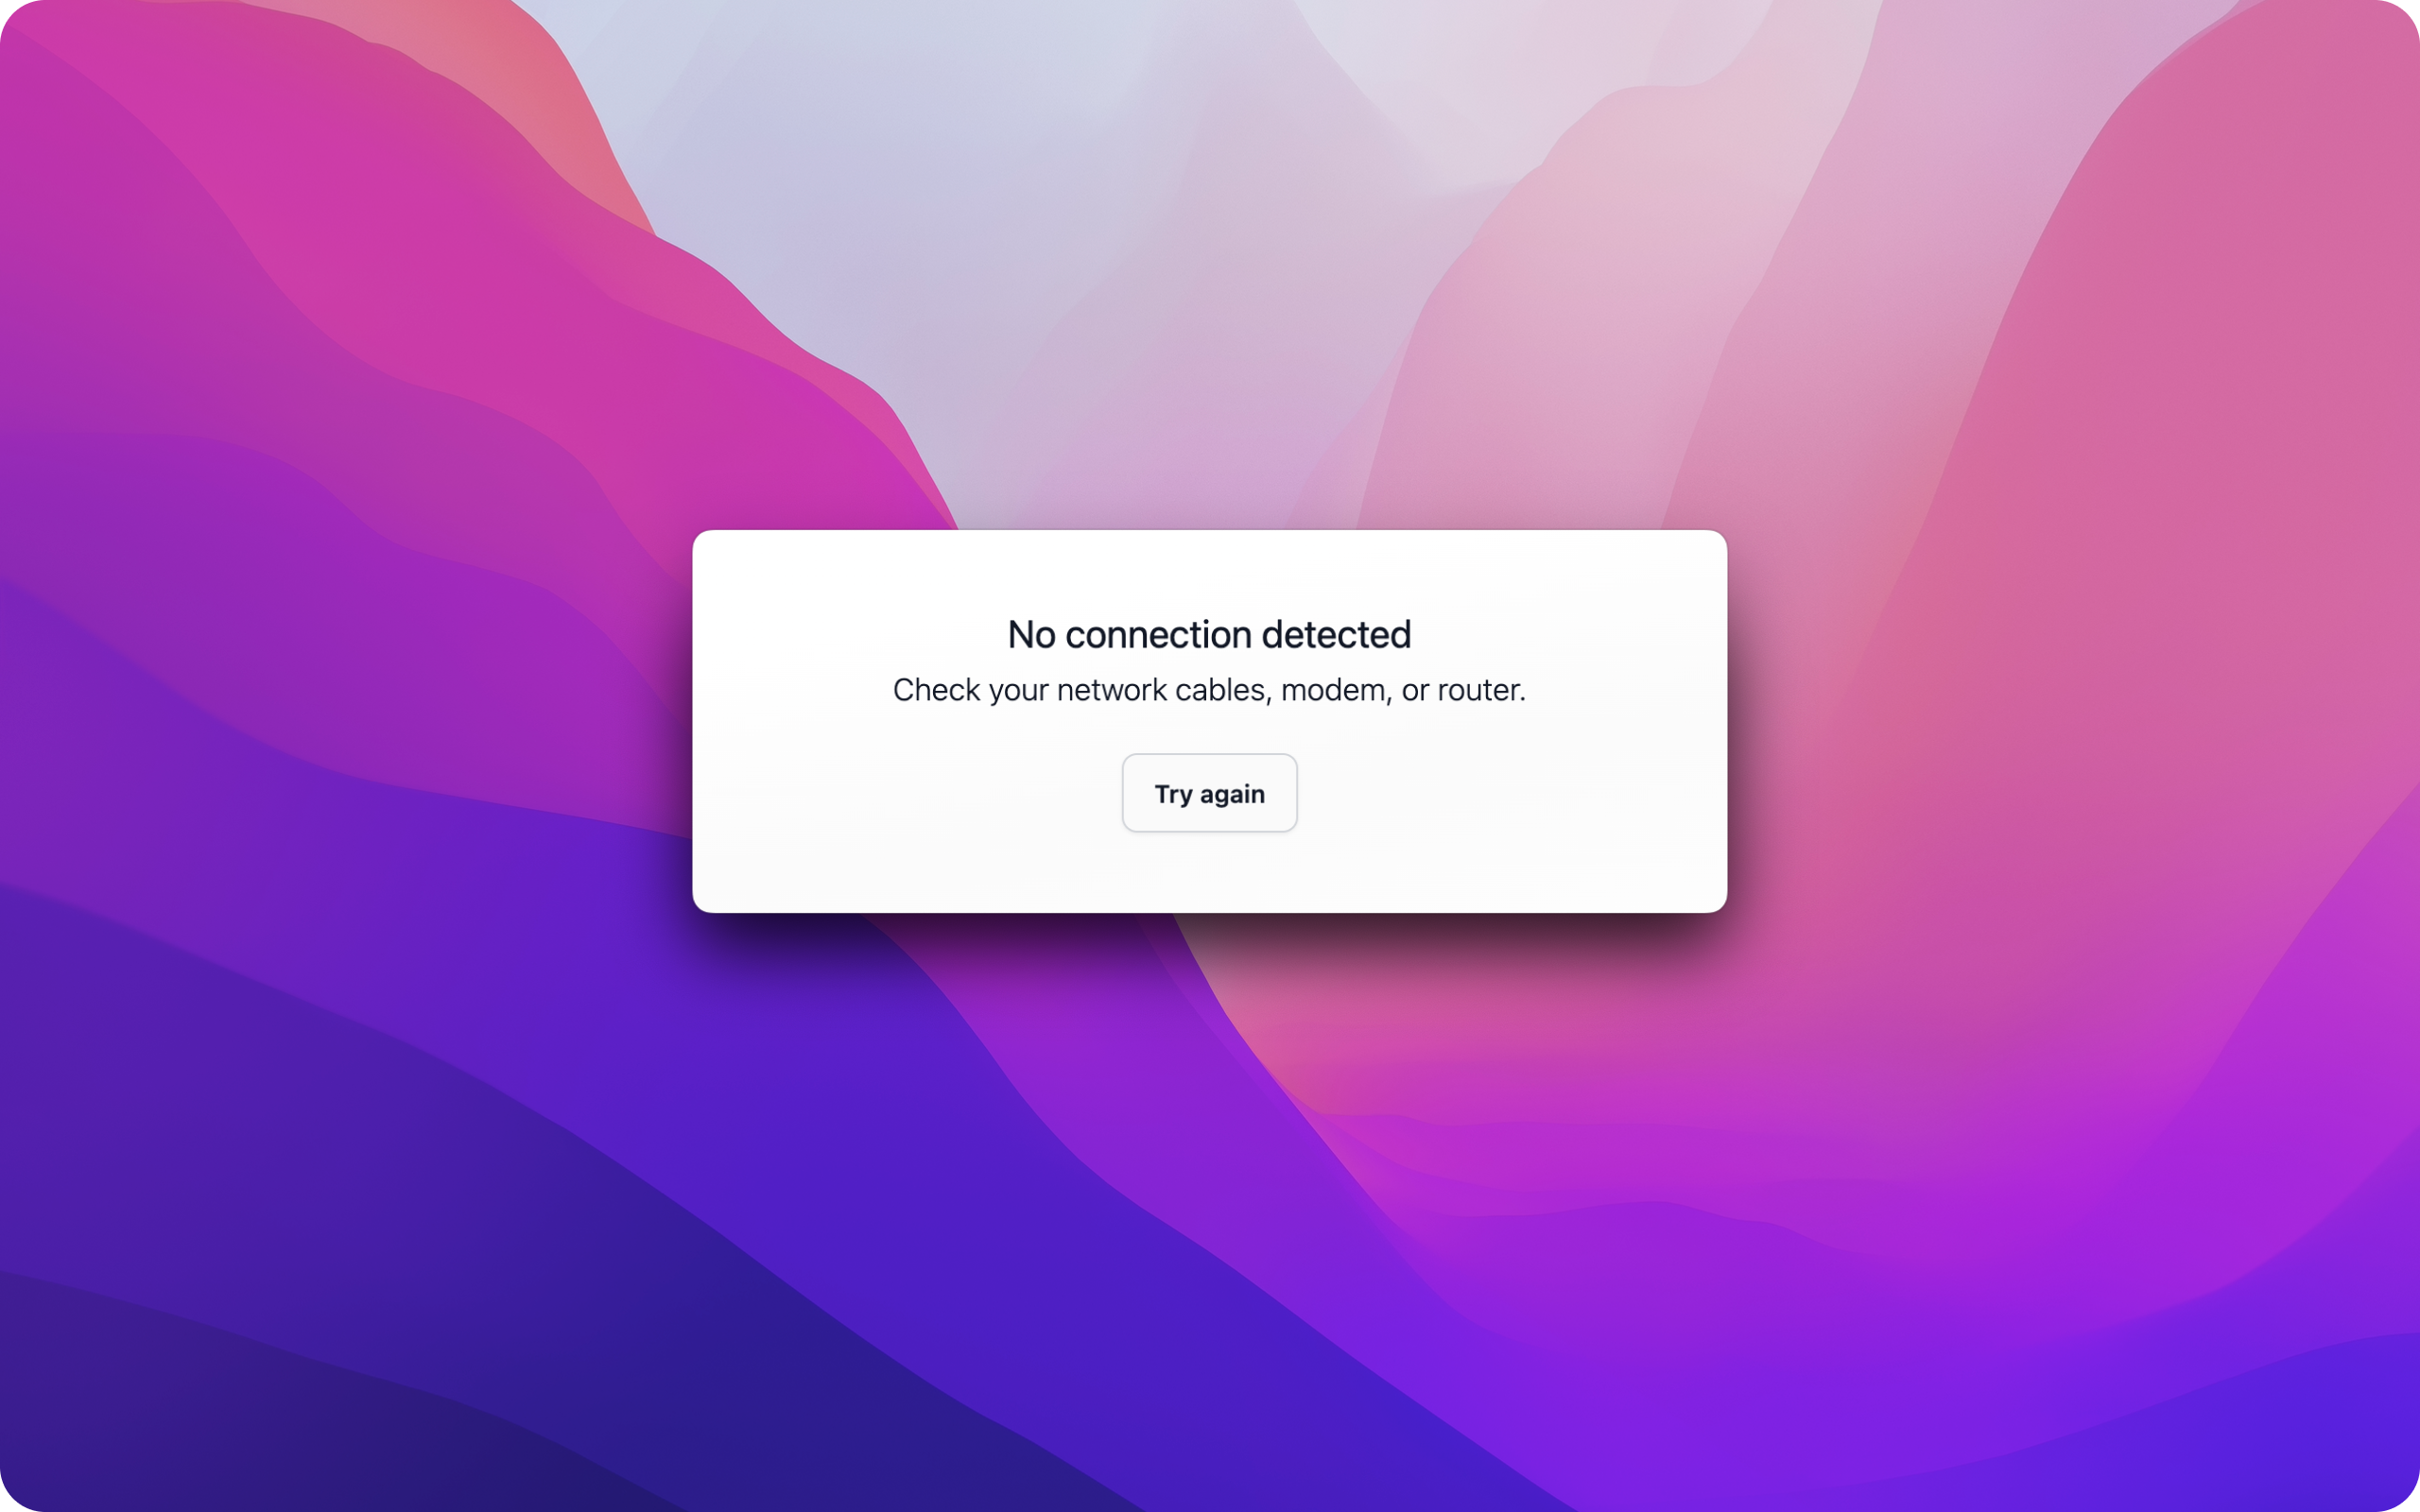
Once you are ready, click the play button. Because we haven't started our application dev server, you should see a screen indicating that you're app failed to load:
The app currently displays a panel window which cannot be moved. We can toggle its visibility by using Shift(⇧) + CommandOrControl(⌘) + Space .
Over the next few sections, we'll add content and functionality to this window.
Step 2: Set up TodoMVC starter project
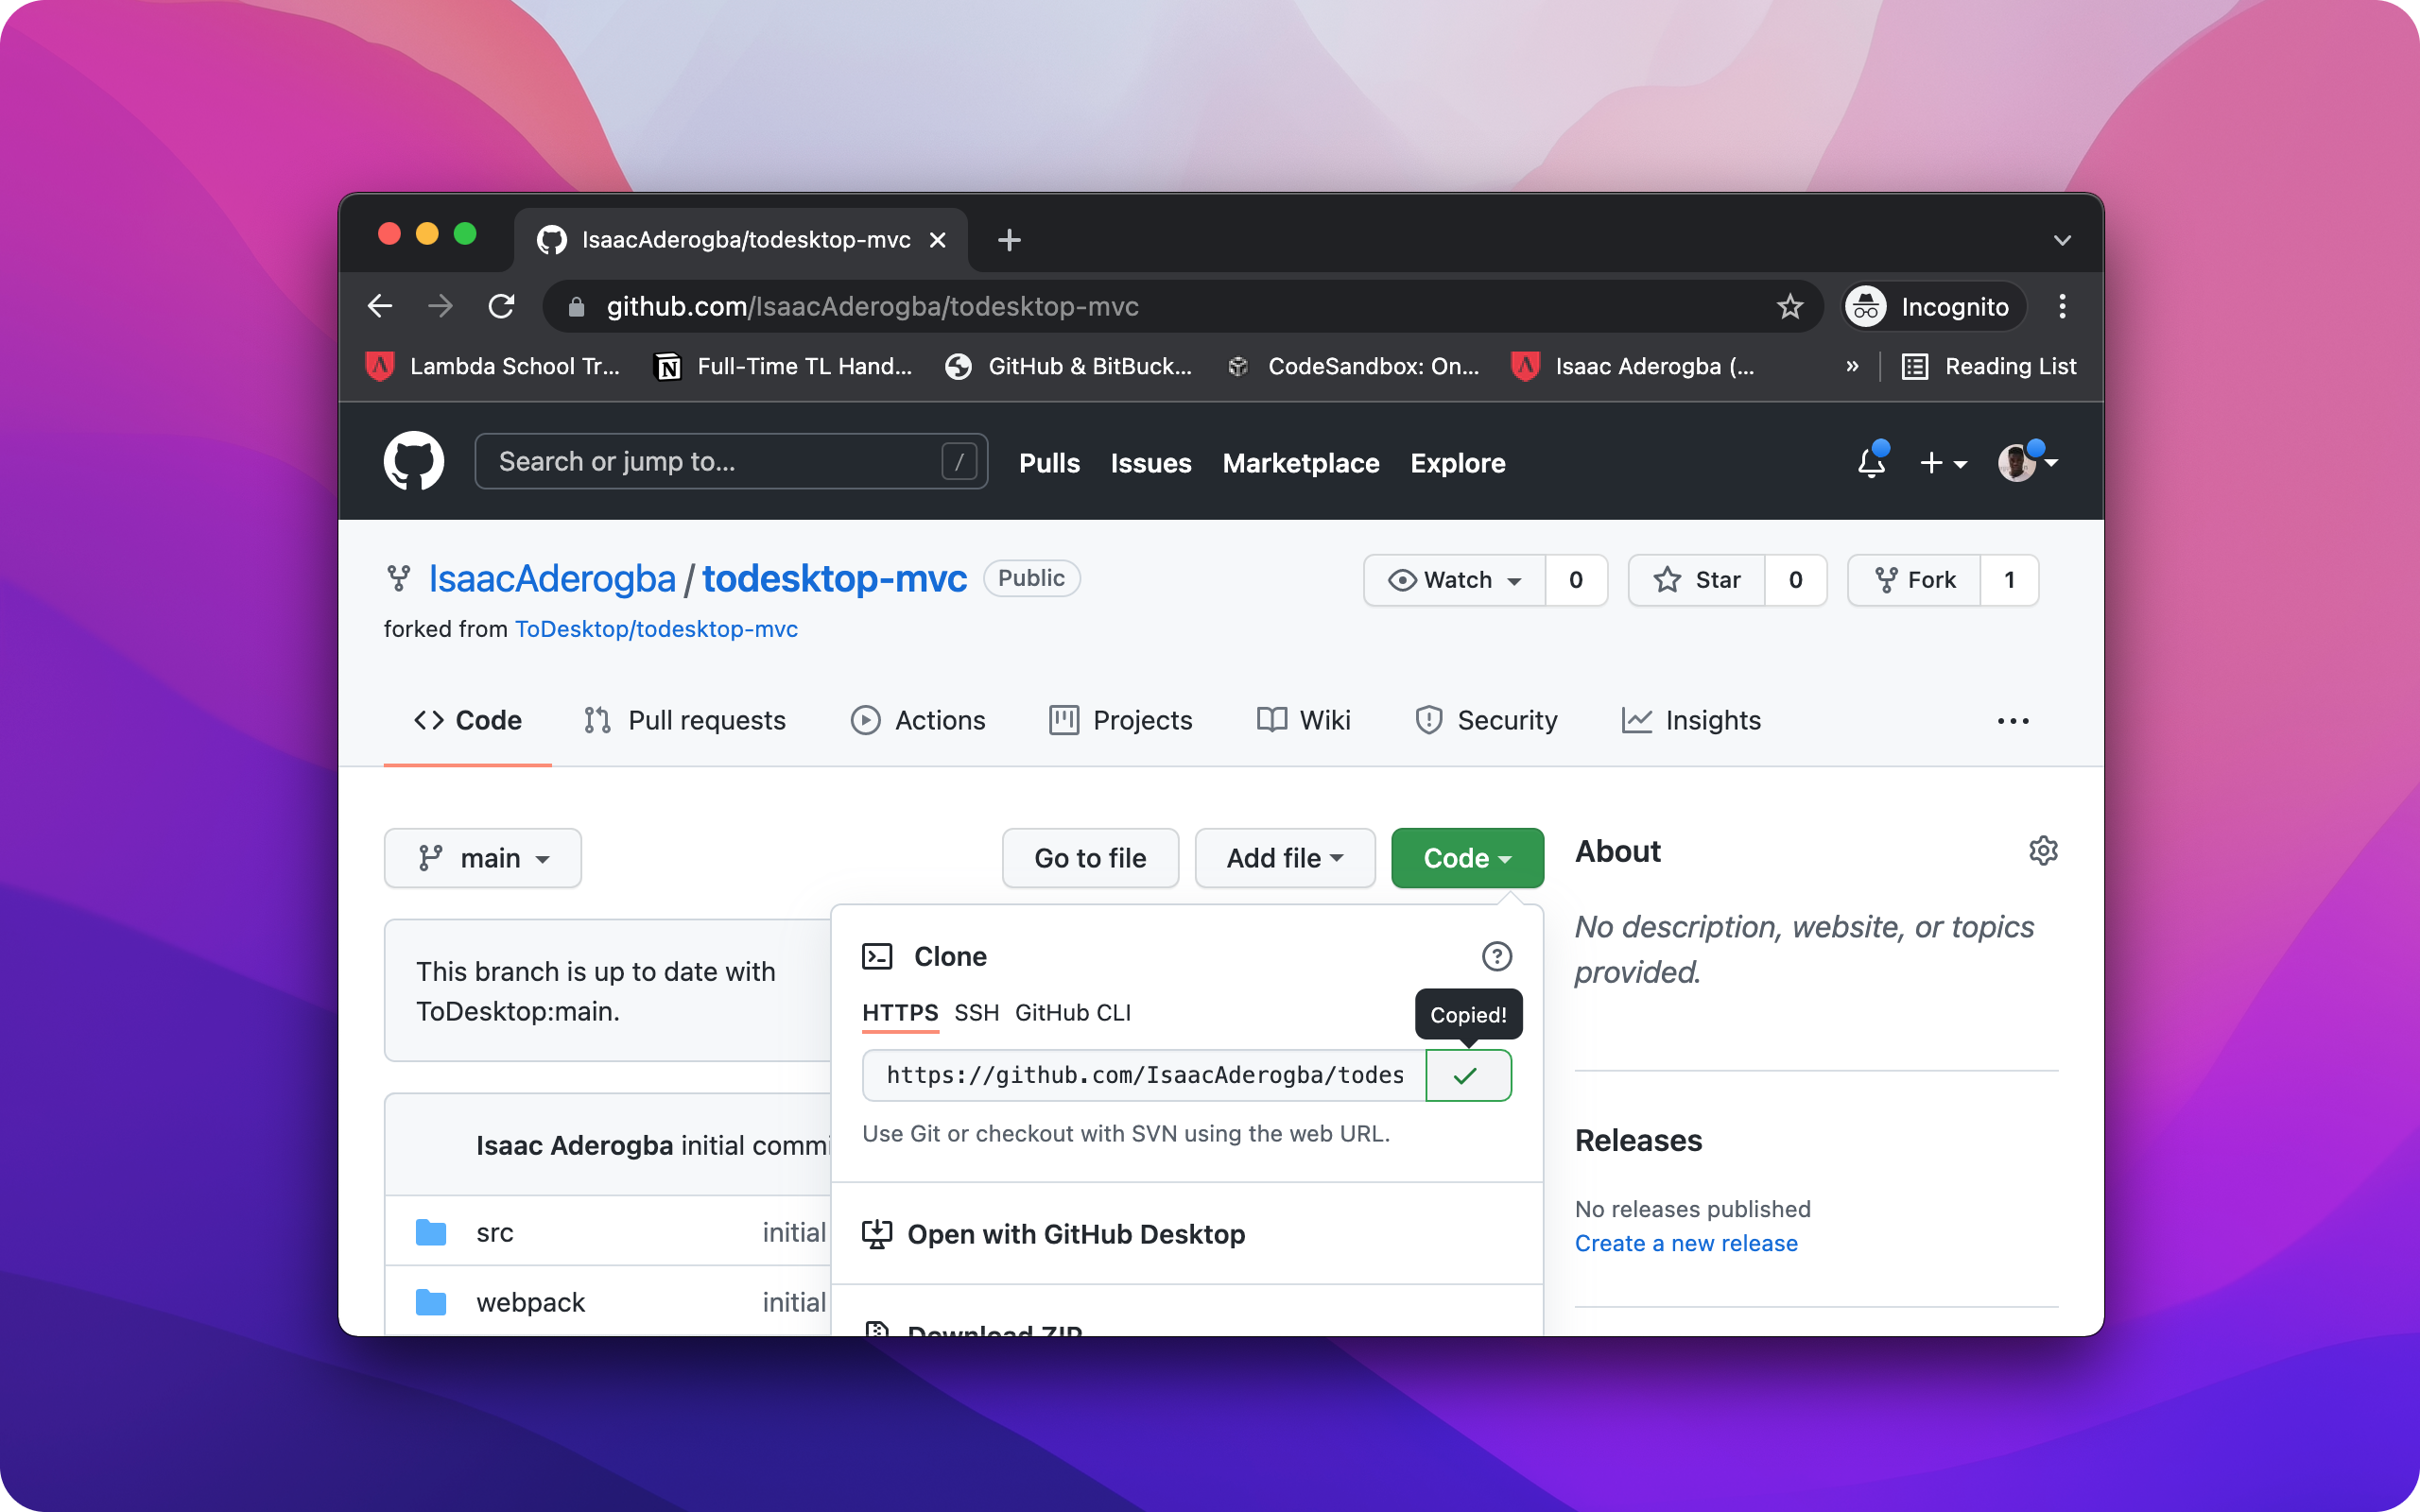
Navigate to the project Repo to find the template files. Click the Fork button to duplicate the project to your account.
Once forked, click the Code dropdown button and copy the web URL:
Using your terminal, navigate to a directory of your choice and paste the web URL as follows:
You can now navigate into the directory and install the dependencies:
Once installation has finished, you can start the application's development server:
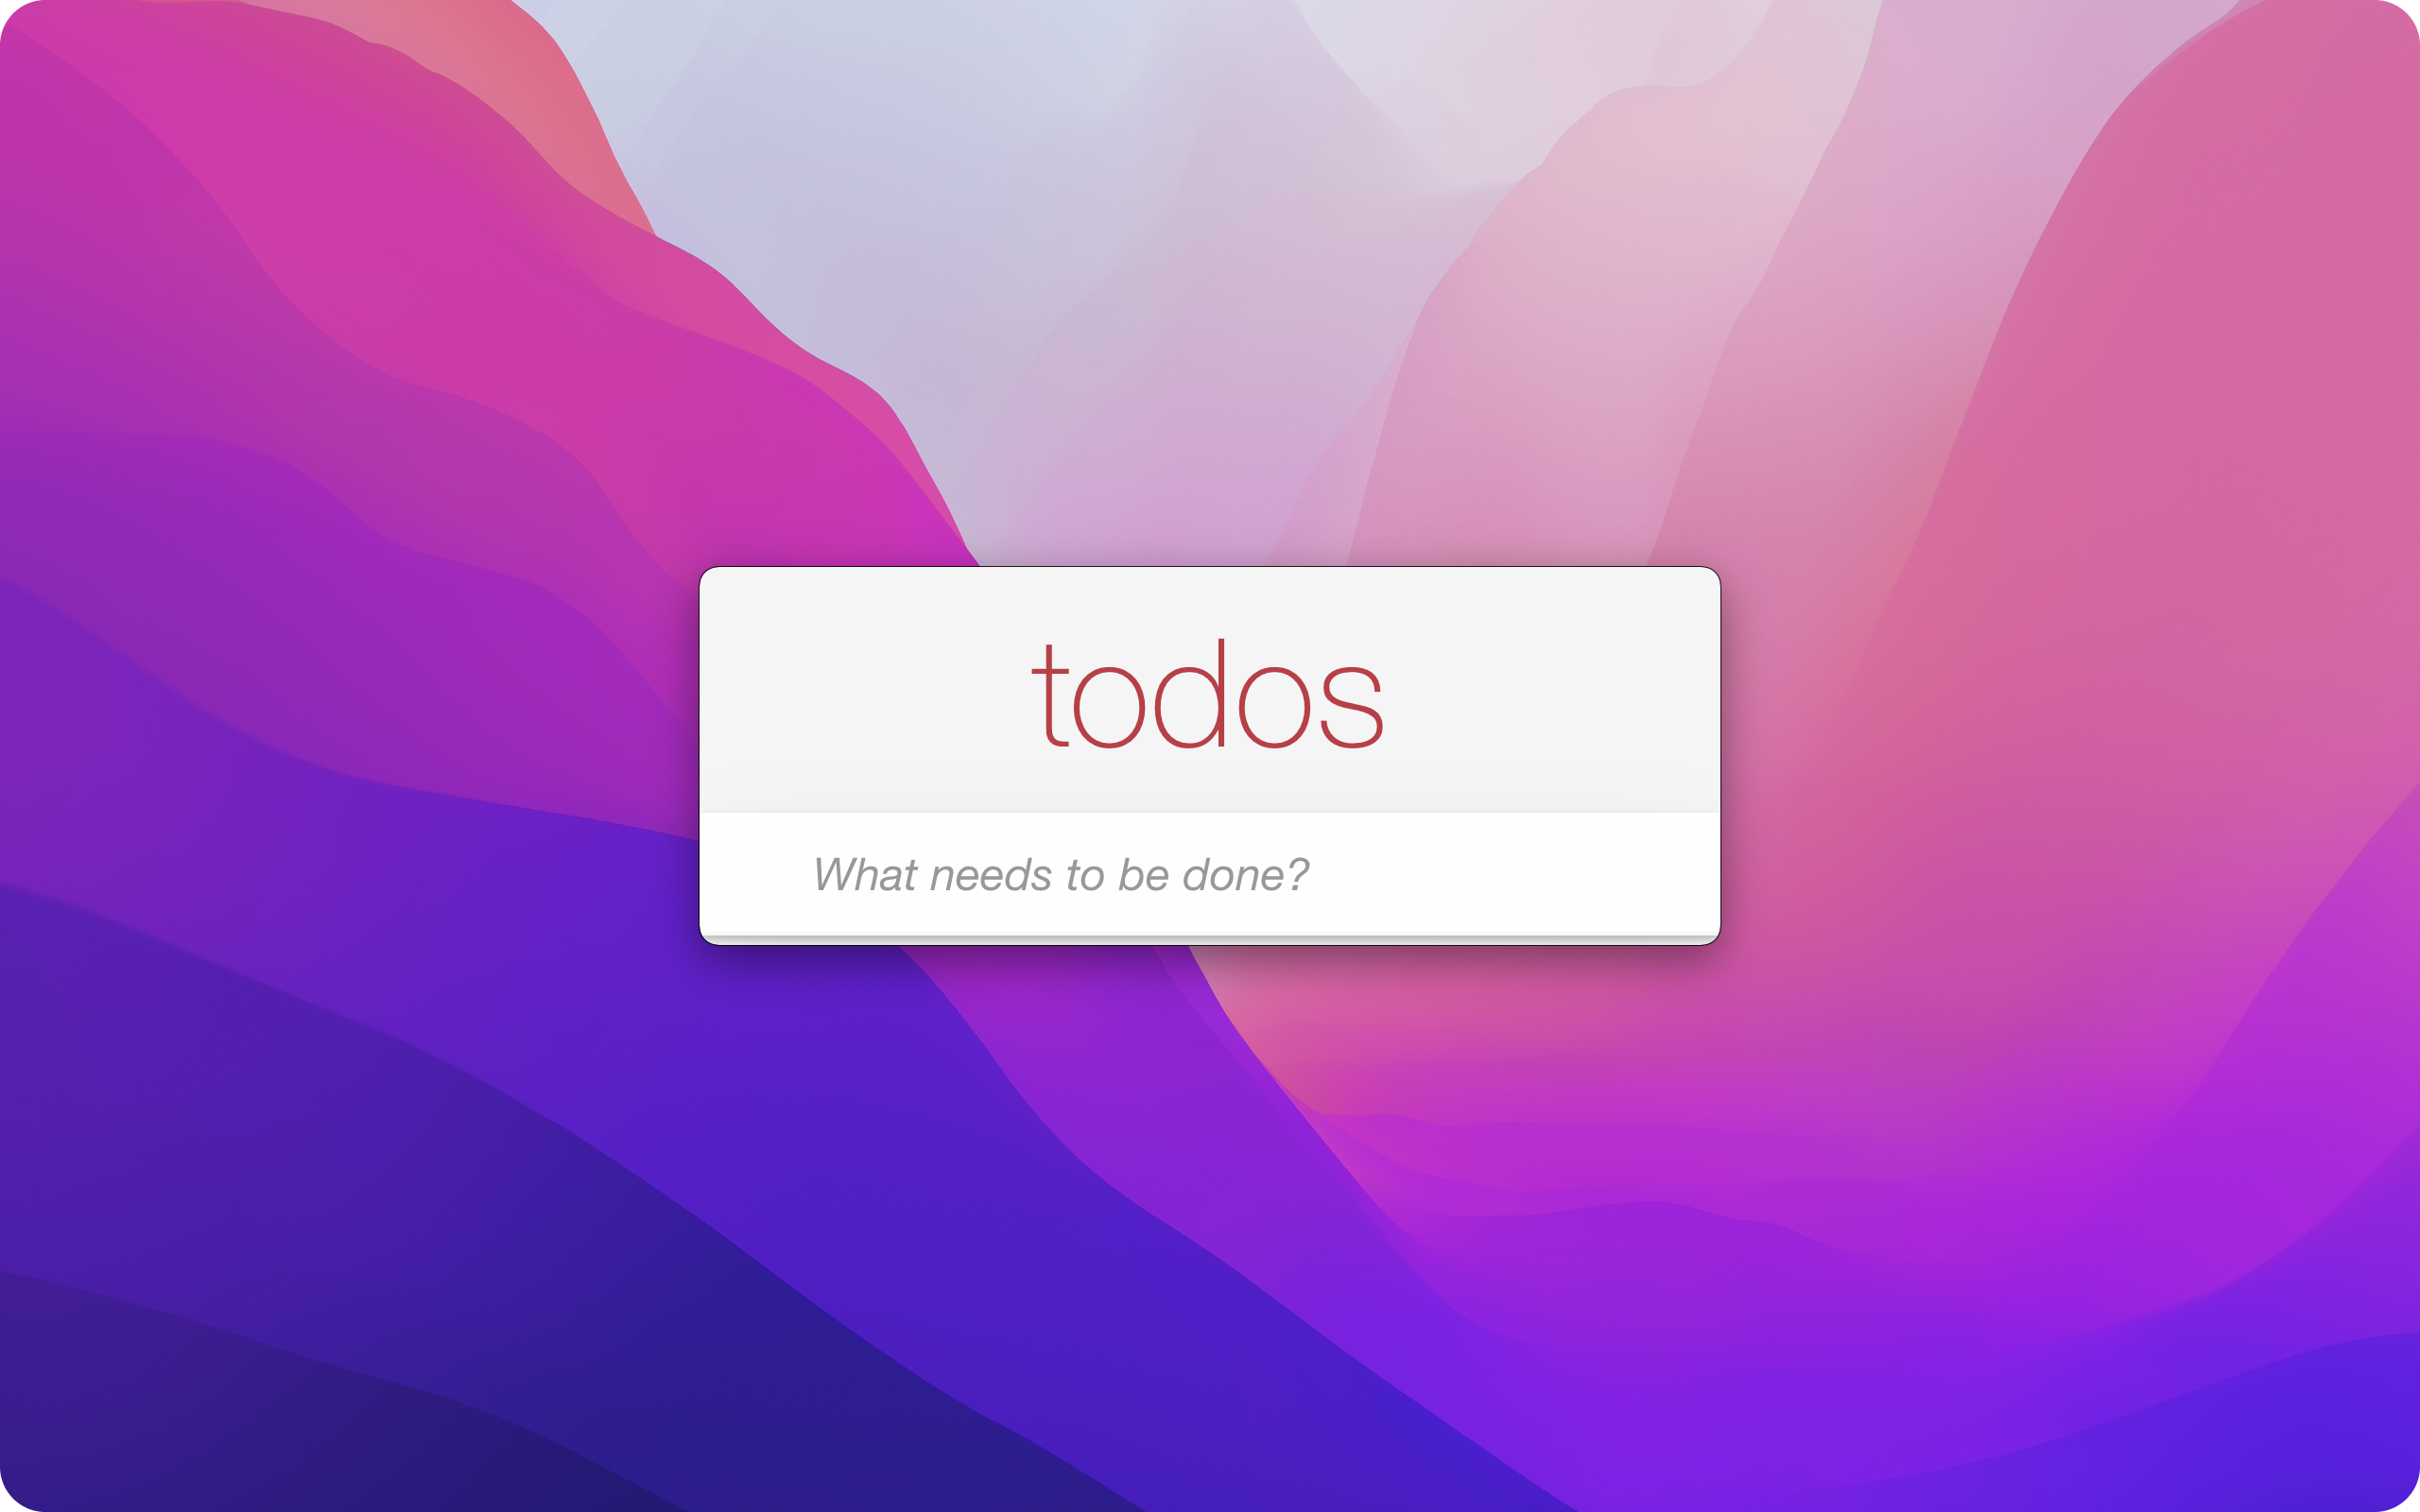
Using ToDesktop Builder, click the play button. You should now see the following:
Step 3: Add minimalistic styling
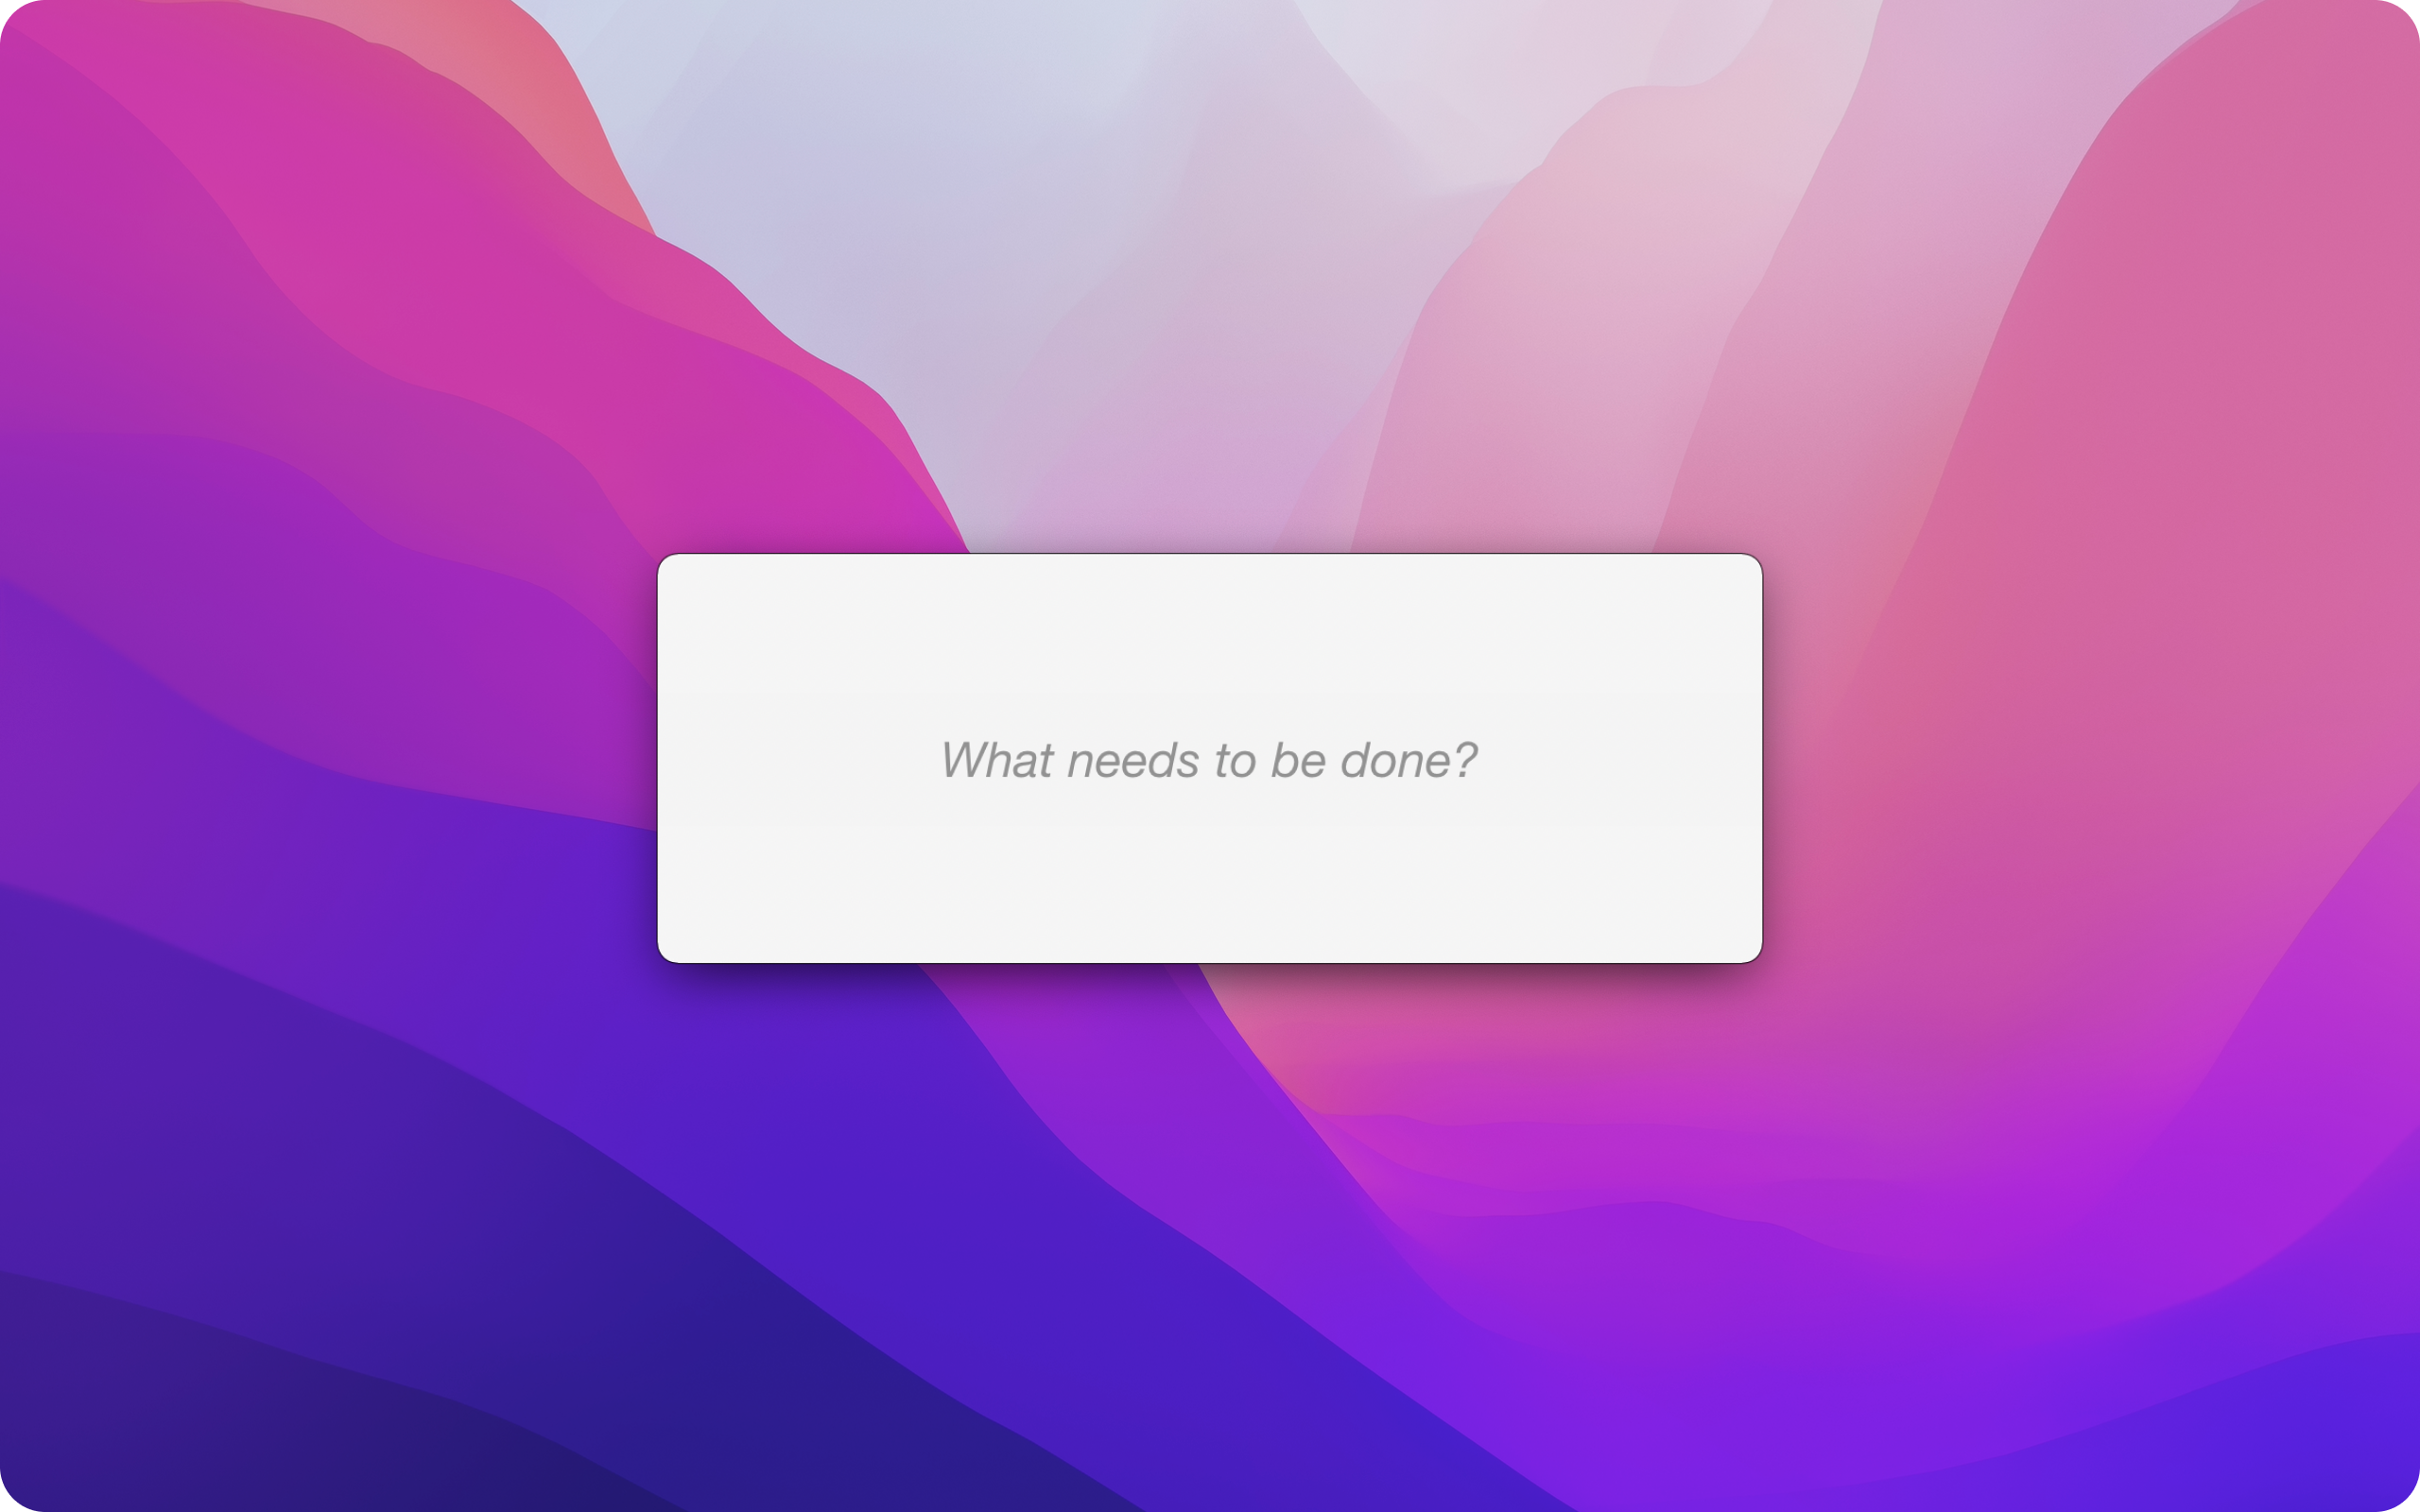
We can style the app to give it a minimal look and feel.
Add the following to the src/index.css file:
Importantly, the html block's -webkit-app-region: drag; allows us to drag our styled window:
Step 4: Install custom plugins
ToDesktop has a modular plugin system that allows us to add functionality to a desktop app.
The four packages we will be using are:
@todesktop/selected-textto get selected text from any application.@todesktop/active-winto gather metadata about where the todo was created.@todesktop/get-app-iconto get the target icon from a given path.@todesktop/client-coreto show the number of remaining todos on the desktop app icon.
ToDesktop Selected Text
Using ToDesktop Builder, navigate to Plugins. Click on the Explore button for "Selected Text" and install the package.
Now using your terminal in the todesktop-mvc directory, run:
ToDesktop Active Win
Using ToDesktop Builder, install the "Active Window" plugin.
Using your terminal in the todesktop-mvc directory, run:
ToDesktop Get App Icon
Using ToDesktop Builder, install the "Get App Icon" plugin.
Using your terminal in the todesktop-mvc directory, run:
ToDesktop Client Core
Using your terminal in the todesktop-mvc directory, run:
Step 5: Add custom functionality
Now that we have the necessary plugins, the next step is to add custom code to our app.
Add imports
Open the project repository in a code editor of your choice and add additional imports to src/controller.js:
registerShortcutis a function that registers a global shortcut. It takes the keyboard shortcut as the first argument, and a function callback as the second argument.getActiveWinis a function that gets metadata about the active window.extractIconis a function that gets an icon from a given path. We will use it to extract the icon from the metadata thatgetActiveWinprovides.appin an object that exposes helper functions for executing code and interacting with the desktop window.
Add shortcut handler
Utilizing these imports, add folowing code inside of the Controller constructor in src/controller.js.
For a gentler introduction to using shortcuts, visit our short guide on using keyboard shortcuts to programmatically toggle window visibility.
app.once takes a unique ID and a callback which takes a reset function as a parameter. It uses the ID to ensure that the callback is only executed once for the entire lifecycle of the application. This feature makes app.once great for initialization logic.
We call registerShortcut in the body of the function to register a listener for the keyboard shortcut CommandOrControl(⌘) + Shift(⇧) + .. Once that keyboard shortcut is detected, we trim the user's current text selection and call getActiveWin to return the owner of the window that triggered our listener. We then pass owner.path to extractIcon. This returns an icon that can be displayed next to the todo.
We finally use app.focus to focus our desktop app, and add a new todo item with the relevant text and icon.
Inside the body of registerShortcut, the next step is to adjust the height of the desktop window whenever we create a new todo. We will use ResizeObserver to observe the body element and dynamically resize the windo. Our app.once invocation now looks like:
Before finishing with our callback function, we’ll listen for the window unload event. This is where we’ll handle clean up of the shortcut listener and reset the once functionality. Here's the complete implementation:
As a bonus, we can use the app.setBadgeCount function to show the number of todos remaining on the desktop app icon. Insert the following line within the _filter method of the Controller class:
Render extracted icons
To render the icon of the application that created the todo, we need to update the Controller's addItem method to accept the icon argument:
As a last step, we update src/template.js to render the given icon:
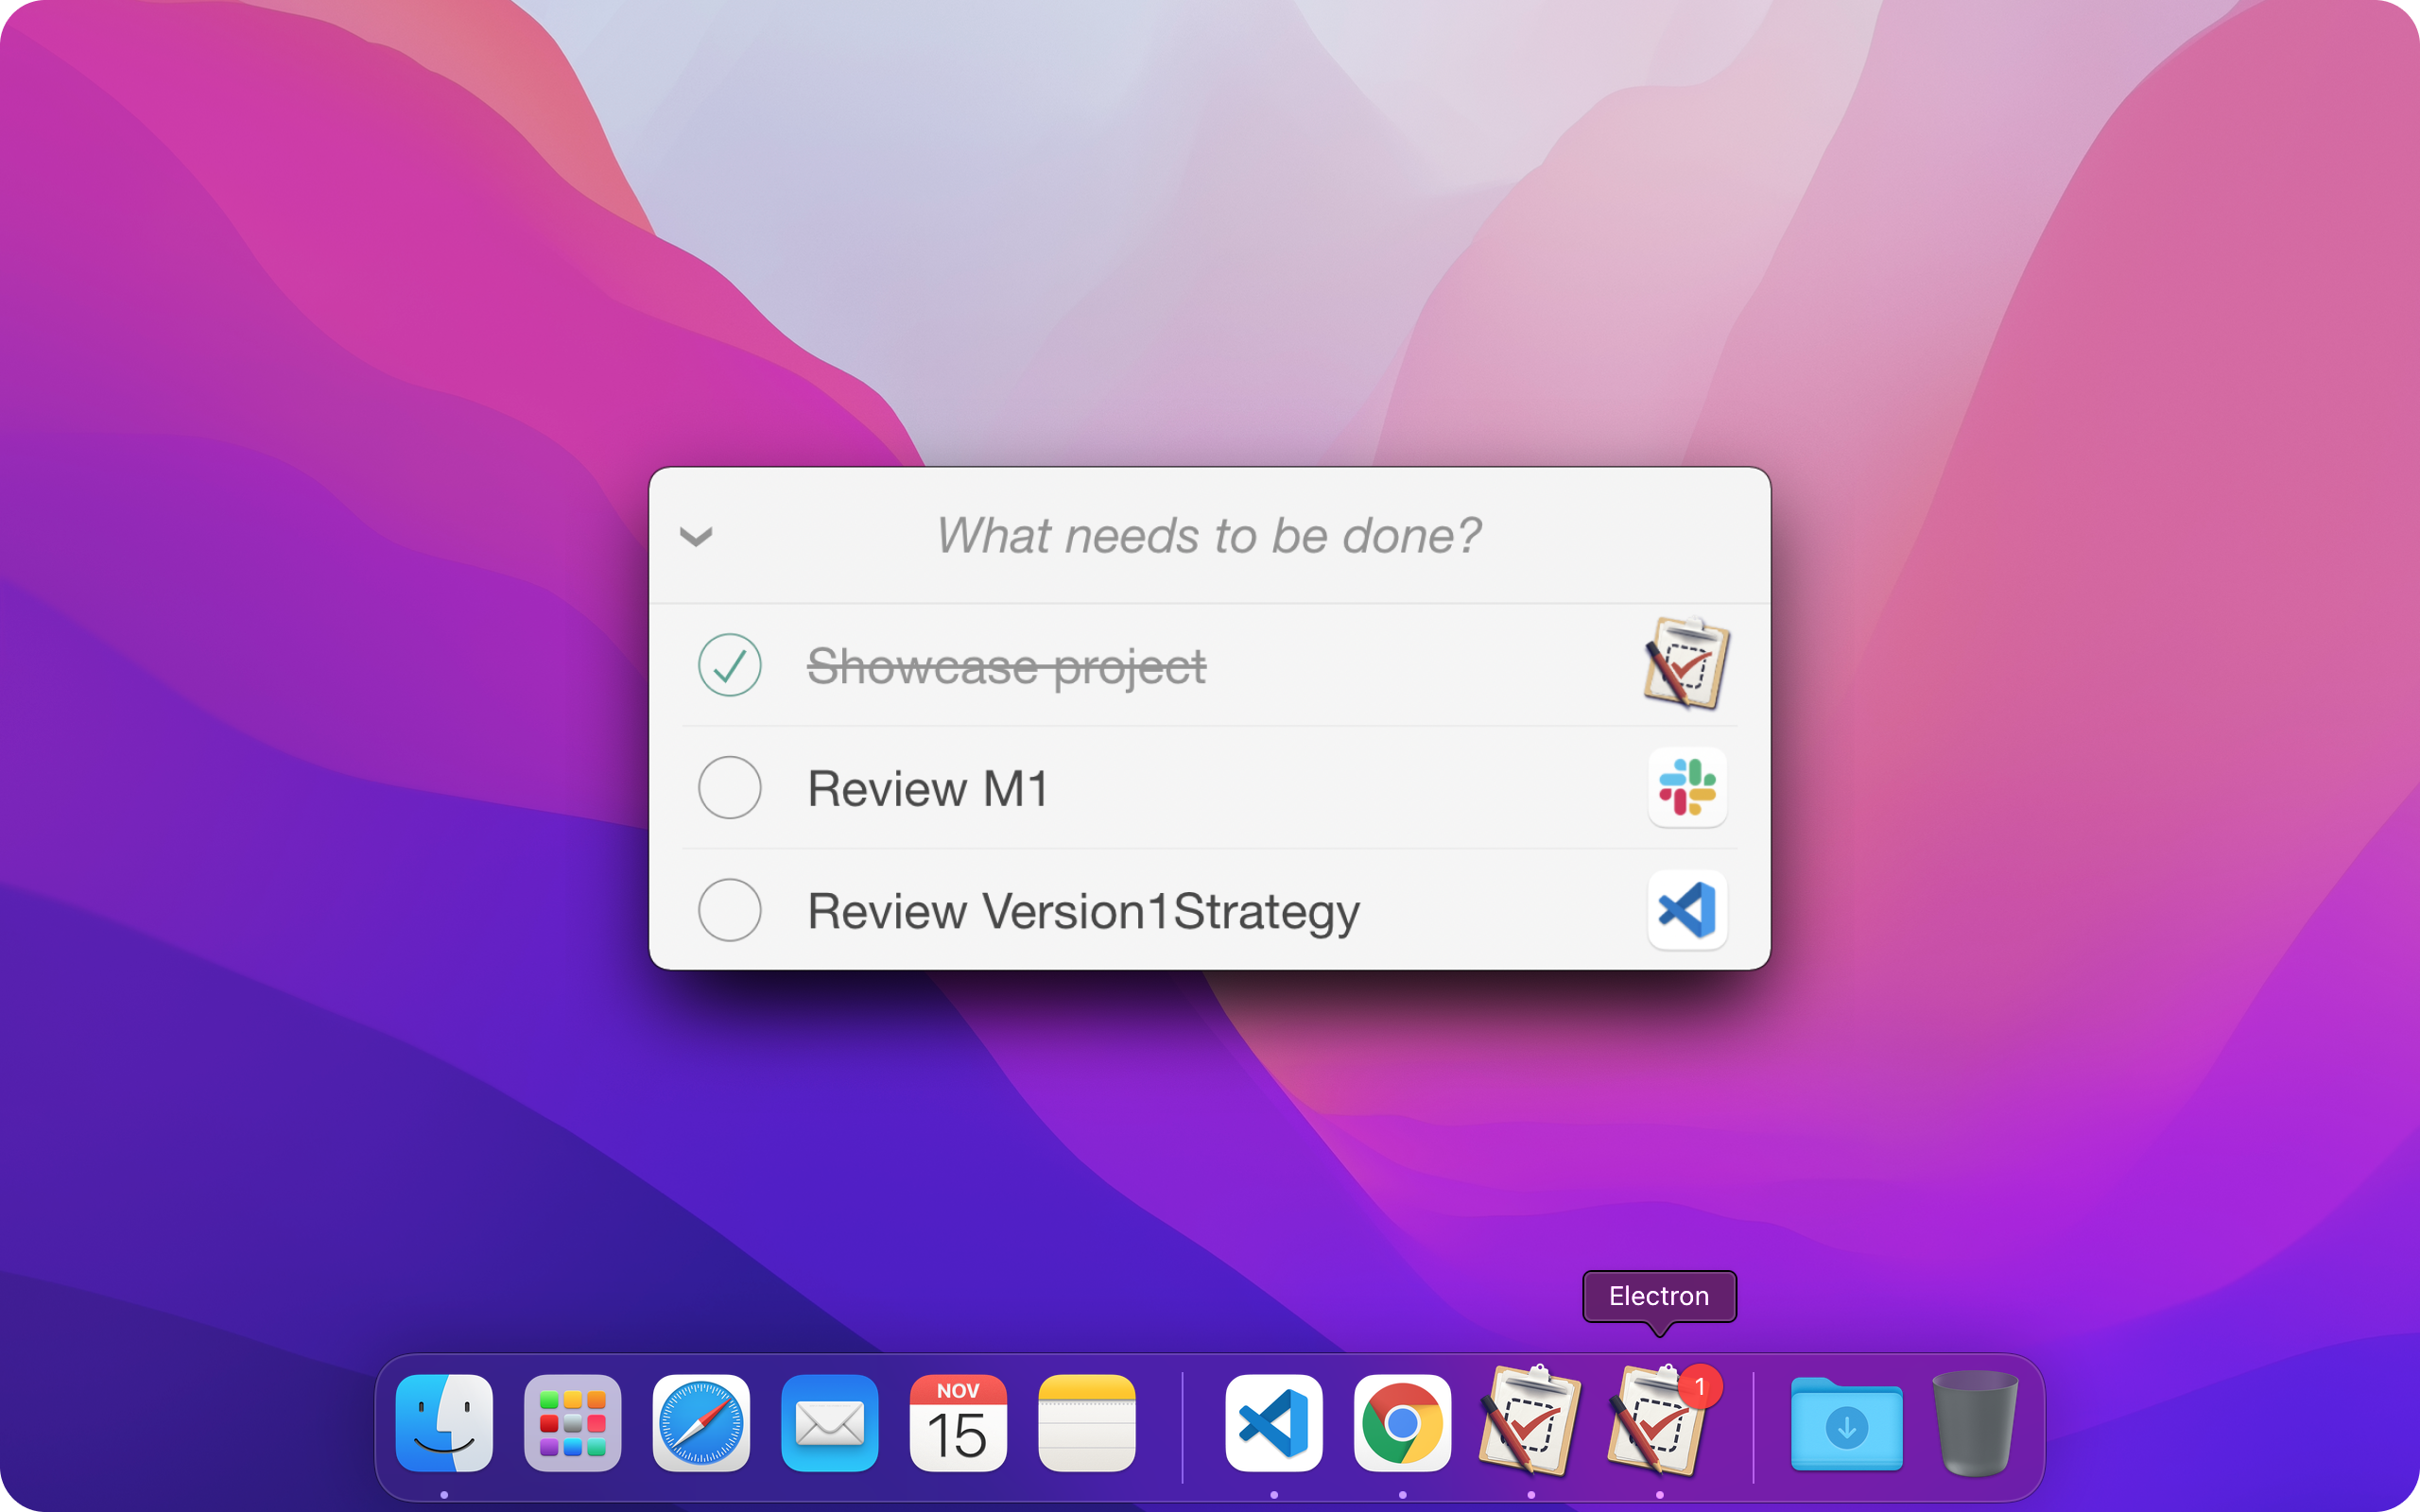
Using ToDesktop Builder, click the play button. You should now be able to select a piece of text and use the keyboard shortcut CommandOrControl(⌘) + Shift(⇧) + . to add it as a todo.
Congratulations! You now have a fully functional todo app that is capable of the following:
- Using keyboard shortcuts to show the app in a panel interface (like Spotlight).
- Creating todos using selected text from any application.
- Attaching logos to todos by gathering data about where the todo was created.
- Showing number of remaining todos on the application icon badge.
The next 2 steps are related to deploying the static site and releasing the desktop app.
Step 6: Deploy Static App
We have been building our app using http://localhost:8080. This works great for development. However, a public URL is needed if we wish to share it with other users.
We will use Github Pages to deploy the static app and get the public URL.
Using your terminal, run the following command:
Next, push your changes to Github
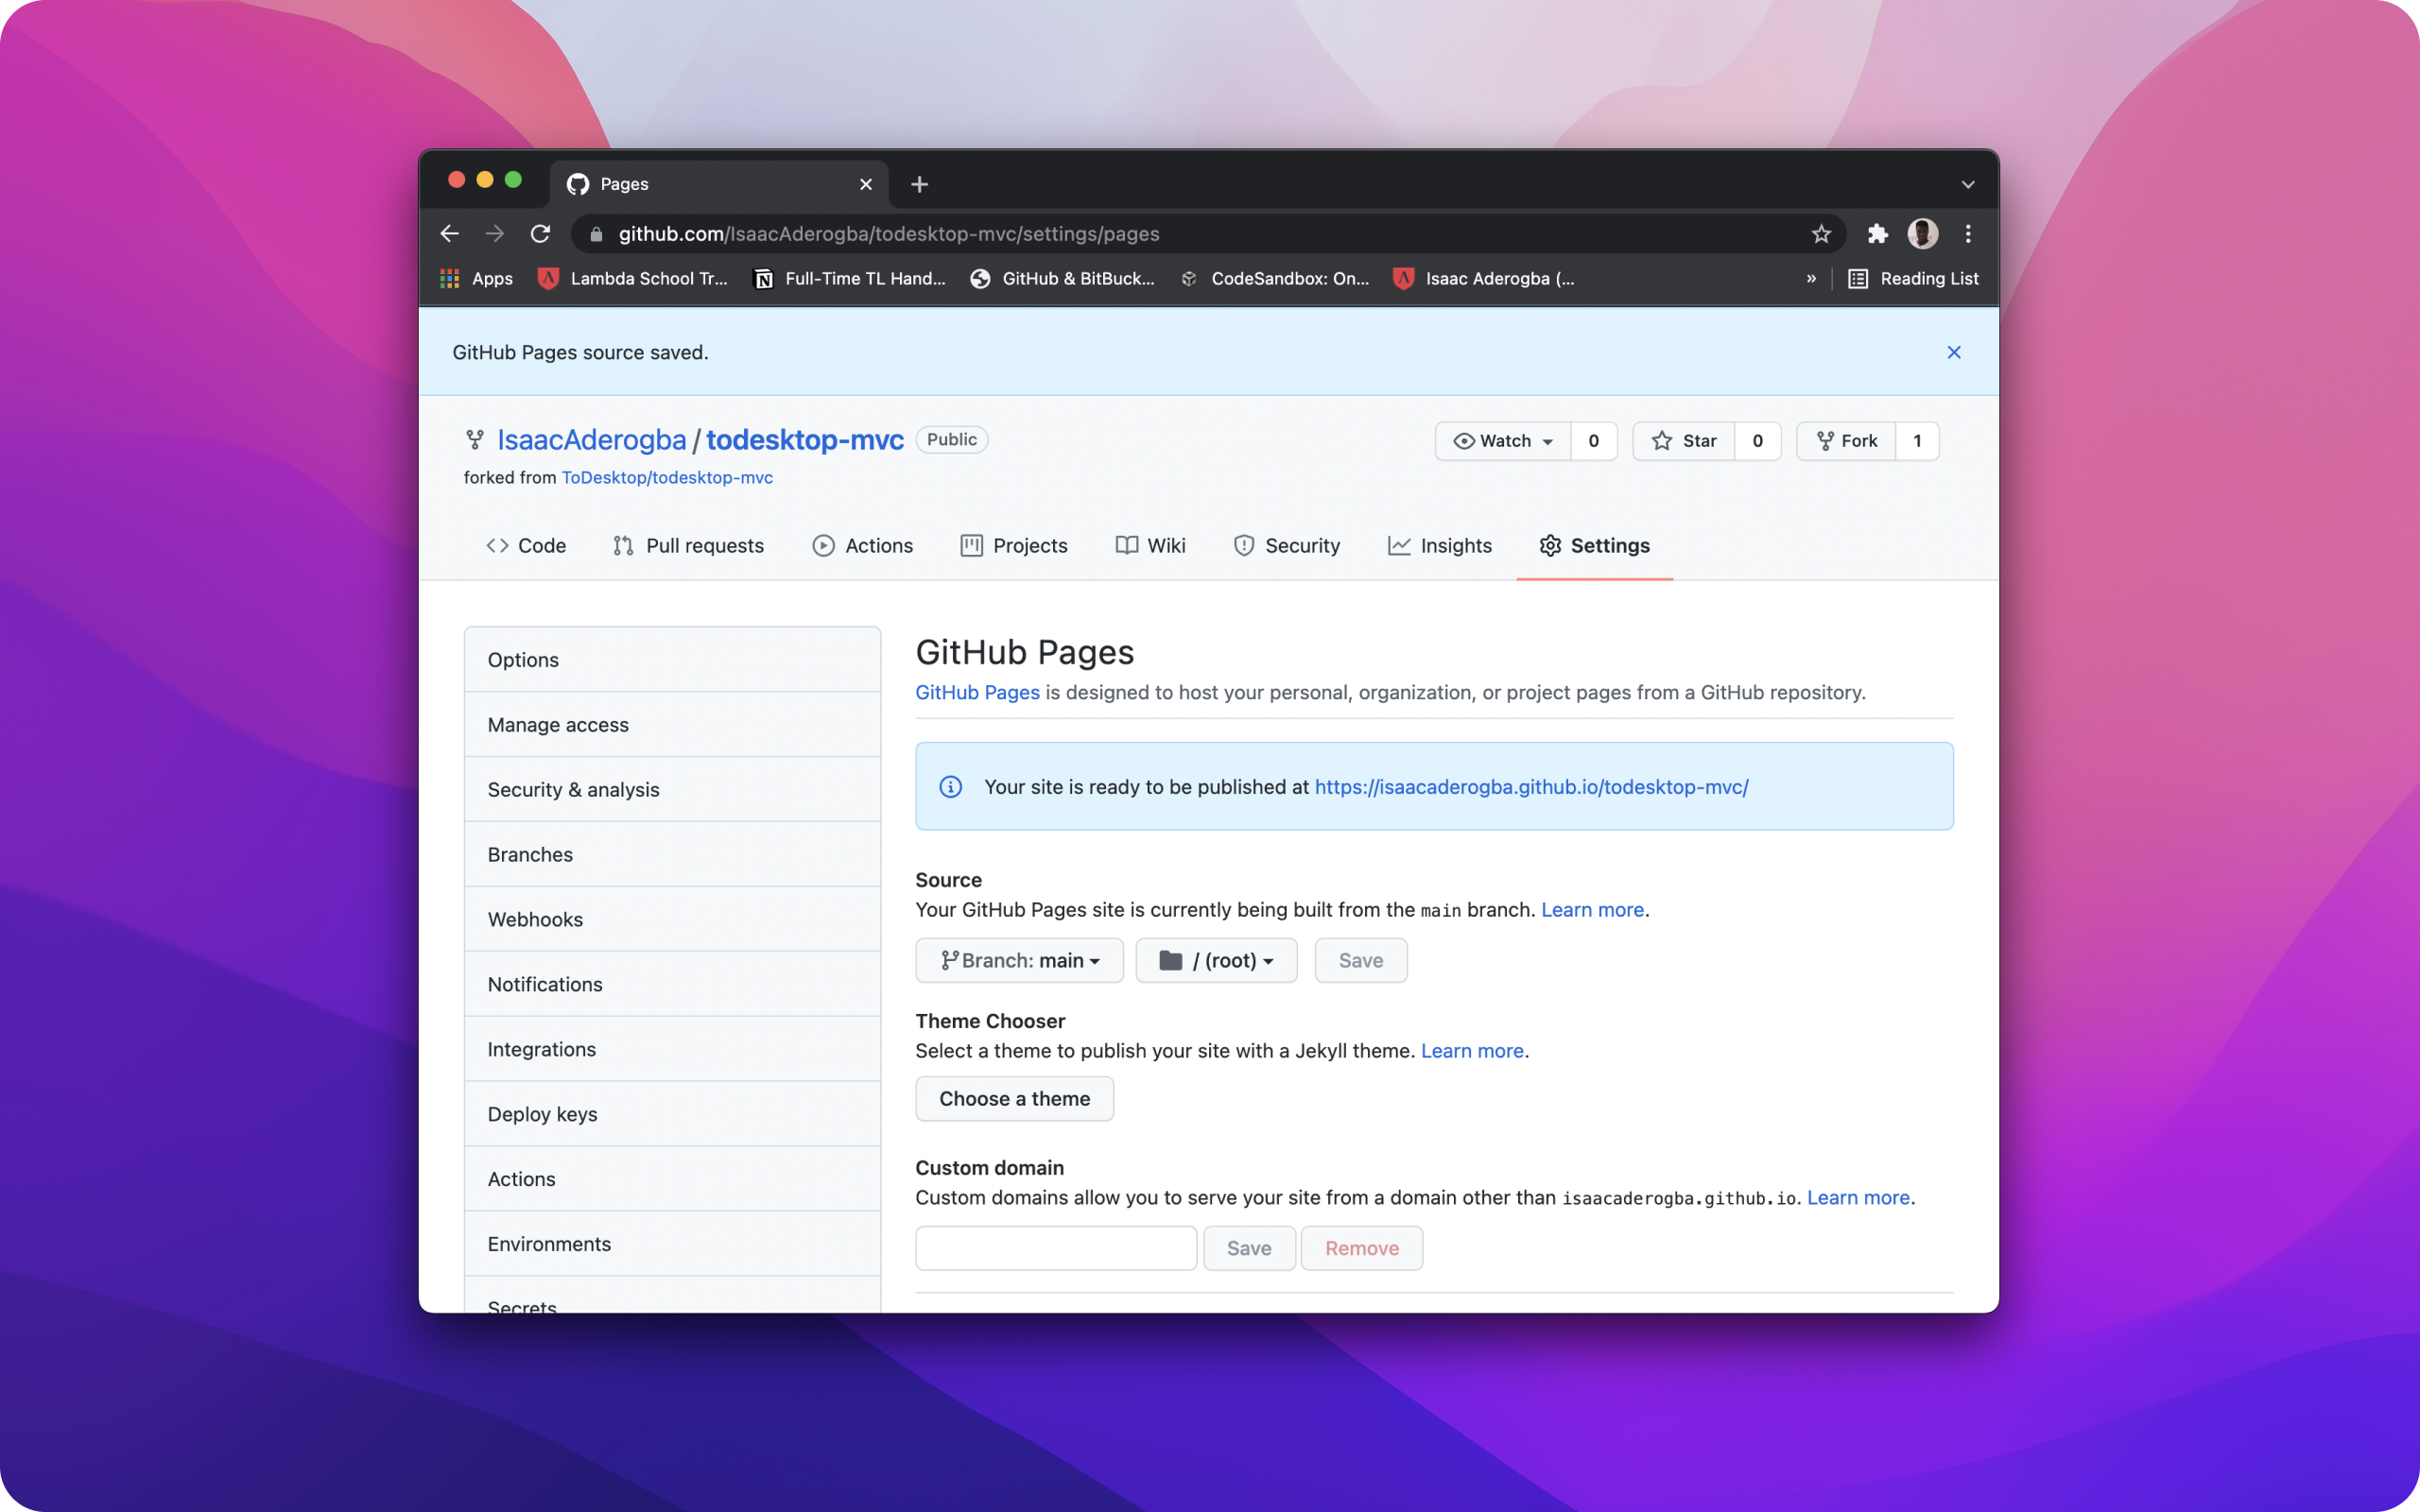
Using Github, navigate to the Settings of your project and then navigate to Pages via the sidebar. Set your branch to main and then click save.
After Github has finished deploying the app, you should see a public URL telling you where your static app is available. This will take a few minutes and you may be required to reload the page. Once the URL is visible, copy it to your clipboard.
Using ToDesktop Builder, navigate to Windows and update the following to your app's URL:
Overview
Step 7: Release Desktop App (Requires Subscription)
To release our desktop app to production for customers to download, press the Release button in ToDesktop Builder. Once a subscription has been created, you will be asked to specify a version number and release your app!
This will open a progress modal which displays the build progress of your Mac, Windows and Linux desktop app. Once completed, you can copy the download URL or download the desktop app directly.
Conclusion
In this guide, you learned how to build and release a TodoMVC desktop app with native functionality. If you ran into issues or have any questions, feel free to raise them on Github or drop us an email at hi@todesktop.com